JavaScript workshop recap: monorepo with Stripe payment
At bene : studio, we love knowledge sharing to help the community of professionals. To share our 10+ years of experience we have launched a knowledge hub on our blog with regular updates of tutorials, best practices, and open source solutions.At bene : studio, we love knowledge sharing to help the community of professionals. To share our 10+ years of experience we have launched a knowledge hub on our blog with regular updates of tutorials, best practices, and open source solutions.
Pardon the interruption, we have an important message!
We are looking to expand our team with talented developers. Check out our open positions and apply.
Introduction
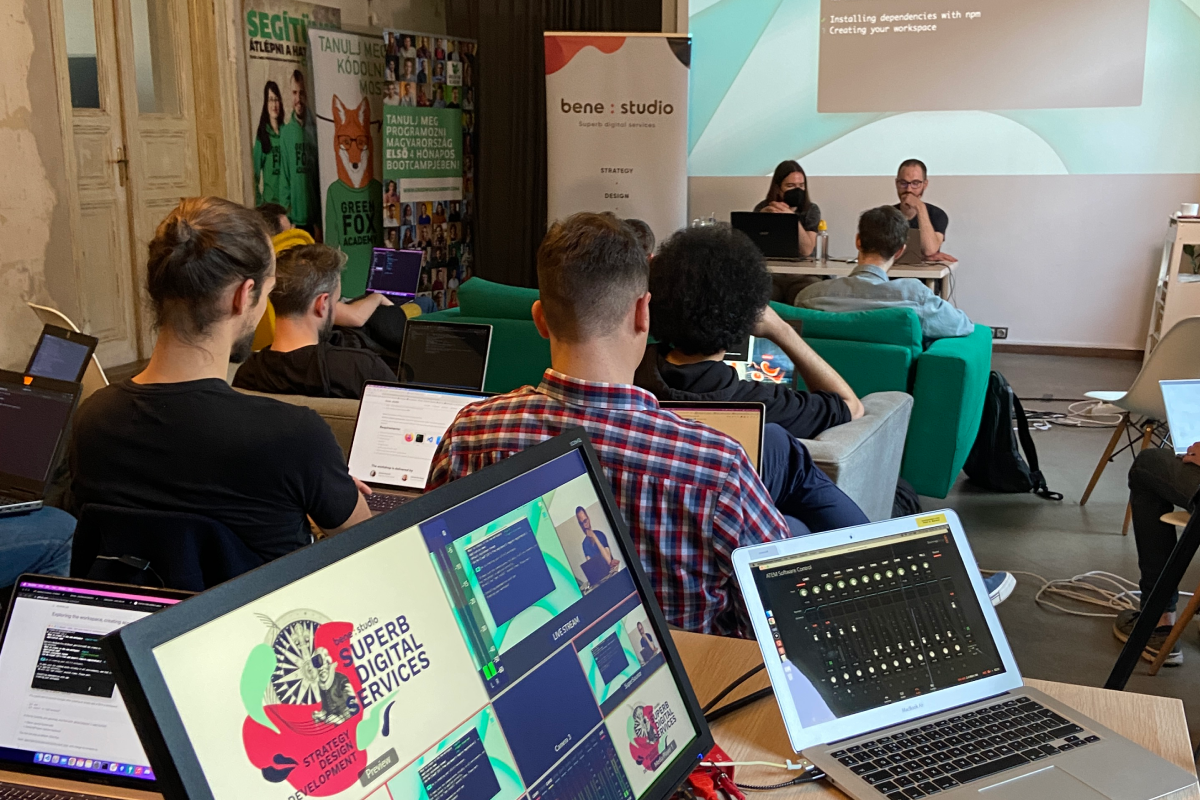
This article is based on a live workshop we held in April 2022. Follow the steps in this article to complete the workshop at home!
In this tutorial, I would like to show the benefits of using monorepos for a full-stack project. We will create two frontends for a shared backend. Both frontend apps will rely on some shared code moved to a separate library still in the monorepo. We will also integrate Stripe to support Google Pay and Apple Pay.
Before you start
Prerequisites
- A free ngrok account
- A Stripe account
- Node 14+ (nvm recommended)
- Google Chrome
- install nx tools with npm i -g nx
- install http-server with npm i -g http-server
- VS Code with the Nx Console extension installed. Git Graph extension is also recommended.
- some assets we prepared
Pro tip: Watch the workshop video to follow the steps in the article more easily
Creating the workspace
Pick a folder to work in and run:
- Choose the angular template, the app name should be elegant-brand-web; choose CSS as stylesheet format and no for the nx cloud
- It will install a lot of stuff – will take a while. Like, really.
- When done, open it in VS Code:
Exploring the workspace, creating apps
Now we have an empty workspace with a single Angular app (and a cypress-based e2e testing project). Feel free to explore the project folders a bit before moving on.
Notice that it also initialized a git repo and made the first commit.
We’ll also add another angular app and a node app as backend. To do the latter, we also add the node and express plugins to the workspace:
Now, in VS Code, open the Nx Console, pick generate, and then pick @nrwl/express – application
- Name: fashion-backend
- frontendProject: elegant-brand-web
The rest can stay as default. Click Run.
It’s a good idea to commit changes after creating an empty app or lib in a workspace:
In the Nx Console, pick generate, and then pick @nrwl/angular – application
- Name: sporty-brand-web
- backendProject: fashion-backend
The rest can stay as default. Click Run.
Open apps/sporty-brand-web/proxy.conf.json and change its contents to:
so that it targets the same API as the first app.
Again, it’s a good idea to commit changes after creating an empty app or lib in a workspace:
Time to run the apps…
- nx serve <app name> compiles and runs an app (with hot reload) – we’ll use it to run both the frontend and the backend projects
- nx test <app name> and nx lint <app name> runs tests and linting respectively – we won’t delve into this during the workshop
Product listing in our apps – backend
Open apps/fashion-backend/src/main.ts and create two endpoints for our product listings. For the images we need to serve these as static images. Copy the assets folder from the git repo to apps/fashion-backend/src/assets. Add these lines to main.ts:
Now run the backend with nx serve fashion-backend.
Product listing in our apps – frontend
In the folder tree, select apps/elegant-brand-web/src/app, right-click, select Nx generate, type component, hit enter.
- Component name: product
- Change detection: OnPush
The rest can be left as default. Click Run. Not only does this add the files for the component, but also edits the app module to make it available for the application, by adding it to declarations.
On that note, delete NxWelcomeComponent from the app module, and delete nx-welcome.component.ts.
Also, add HttpClientModule to the imports array. VS Code should be able to import it, but if it doesn’t, this is the proper import statement:
Now we get to type a bit:
product.component.ts
Also, change the import line
product.component.html
product.models.ts
NOTE: both apps will need this, so we’ll move it to a shared library later.
app.component.ts
(Use VS Code’s actions to add missing import statements)
NOTE: in a real-world angular app, we would:
- create a separate component for the product listing; the app component is usually quite empty and just used as a container (for menus, headers, main etc.)
- certainly not put HTTP requests in components – using Redux is highly recommended. (In angular, the Ngrx library is the de facto standard for that.)
app.component.html
Angular’s template syntax is not super straightforward to write at first, but it’s easy to read; as long as we have products, we iterate over them and instantiate our product component for each. If they are not ready, we show a loading indicator.
Put it all together…
In two separate terminals, run:
- nx serve fashion-backend (if it’s not running already)
- nx serve elegant-brand-web
and open the webapp in a browser (http://localhost:4200/). We should see the product listing.
Listing in the second app, creation of a shared library
In the folder tree, select apps/sporty-brand-web/src/app, and right click, select Nx generate, type component, hit enter.
- Component name: product
- Change detection: OnPush
The rest can be left default. This will generate the necessary files and register the component in the app module.
Delete NxWelcomeComponent from the app module, and delete nx-welcome.component.ts.
Also add HttpClientModule to the imports array. VS Code should be able to import it, but if it doesn’t, this is the proper import statement:
Now we can just copy the content of product.component.ts and product.component.html. (Our two frontend apps will be basically the same this way – please use your imagination to pretend that the two apps differ a bit more than they are, as we don’t have time to make them complex enough to actually do that 😊)
Sharing product.models in a library
Now you may remember that the next thing we did was adding an interface for products. But we really don’t want to copy-paste that! Time to create the shared library.
Click the Nx Console button in VS Code’s sidebar, click Generate. Select @nrwl/angular – library.
- Name: shared-web
- the rest can stay as-is
Click Run.
Then in apps/elegant-brand-web/src/app, right-click product.models.ts, click Cut.
Then select libs/shared-web/src/lib, right click on the lib node and click Paste. Say no to updating imports for now.
In libs/shared-web/src/index.ts, add this line:
export * from ‘./lib/product.models’;
Then in apps/elegant-brand-web/src/app/app.component.ts, change import { IProduct } from ‘./product.models’; to import { IProduct } from ‘@nx-stripe-workshop/shared-web’;
Now we can carry on working on the second app! Open apps/sporty-brand-web/src/app and make these changes:
app.component.ts
(Use VS Code’s actions to add missing import statements)
app.component.html
Give them a go!
(This is probably a good time to commit our changes.)
In two separate terminals, run:
- nx serve fashion-backend (if it’s not running already)
- nx serve elegant-brand-web (if it’s not running already)
- nx serve sporty-brand-web –port 4201 (we change the port so that it can run side-by-side with the other app)
and open the webapps in a browser (http://localhost:4200/ and http://localhost:4201/). We should see the product listing in both of them.
Make them look apart
Copy ‘style.css’ from the repo to apps/sporty-brand-web/src/styles.css and apps/sporty-brand-web/src/styles.css. Thanks to some css trickery the same css can be used to style both versions. You just need to add a class to the root of your application. Add the following classes in each apps index.html:
Implementing Stripe Pay, testing Google Pay
First, stop our running apps. Then right-click shared-web > src > lib and select Nx generate => component again. Call it stripe-button, and add a checkmark to export; leave the rest as-is and click Run.
Add this script reference to index.html in both apps: <script src=”https://js.stripe.com/v3/”></script>
Let’s start with the backend code. First, install stripe with npm i stripe and then update our server app:
main.ts
Put this before the first app.get call:
Also refactor your product lists to variables, like this:
Finally, add our new endpoint – this will be called as part of the payment process.
Note: one could think of passing in the price and currency to this method directly (instead of using the product ID and looking the price up) – but that would actually be a security risk, which could enable our users to set their own prices. This way, even if the client is tampered with, the backend makes sure that the correct price is used.
Now extend our interface, then write our component:
product.models.ts
stripe-button.component.ts
NOTE: canPay$ and paymentState$ are represented as observables rather than plain fields to aid the change detection mechanism, which normally “loses track” in between async-await calls. Other possible solutions would be calling the change detector explicitly whenever we change these properties (which is quite error-prone) or refactoring the Stripe logic into a service, and then “plugging in” canPay and paymentState as component inputs (which always get proper change detection) – that would actually be the “real-world” preferred way of doing it, but during this workshop we just go for the simpler, observables-based solution.
stripe-button.component.html
shared-web.module.ts
Just add import { HttpClientModule } from ‘@angular/common/http’; at the top and HttpClientModule to the imports array.
Then we can start using it in our apps:
- Import SharedWebModule in both app modules (import { SharedWebModule } from ‘@nx-stripe-workshop/shared-web’; at the top and then add it to the imports array)
- Change the product components as follows:
product.component.ts
Add this input:
product.component.html
Replace the current button with this:
elegant-brand-web/…/app.component.html
Set the productId attribute on this line:
And we are done!
Time to try it out:
- Run ./ngrok http 4200 (in the folder where you have your ngrok binaries) to start our proxy (we need this to access the app through HTTPS, which is required for Stripe Pay). Take note of your URL (the one over https).
- Run nx serve fashion-backend and nx serve elegant-brand-web –disable-host-check in separate terminals. (The extra flag on the second call is needed for ngrok to be able to access our local Angular development server.)
- If you are signed into Chrome with your actual Google account, and that account has a saved Google Pay card, you can open your ngrok URL now and you should see the Google Pay button next to our products. You can click on them, but don’t click Pay – you wouldn’t want to pay with your real card. Instead, create a new profile in Chrome by clicking your profile icon, and selecting “Continue without an account”. (Again, if you are not signed into Chrome, you can skip this.)
- Save a Stripe test card in Chrome by visiting chrome://settings/payments. Be careful to avoid testing with your actual card!
- Open your ngrok URL in a browser. (Be sure to use the one with https.) The Stripe pay buttons should appear (which is basically the same as a Google Pay button, just different branding), and you should be able to complete your purchase. In case you added a test card requiring 3DS validation, the 3DS UI should trigger automatically as well.
Some more details on the button branding: Stripe uses a generic branding (“Stripe Pay”) on the button for cards saved locally in the browser – this is what we tried now. If you sign in to Chrome with your Google Account and have Google Pay set up, you’ll see the Google Pay branding. With this same codebase we have written, we could also activate the Apple Pay branding in Safari (for users that have Apple Pay set up), but that needs an additional domain verification step (which we couldn’t even complete with a free ngrok account) – that is out of scope for this workshop.
Troubleshooting – if you see the fallback button: Verify that you have opened the HTTPS version of the ngrok URL and that you have a saved card set up locally in Chrome. If both are true, and it still does not work, open https://stripe.com/docs/stripe-js/elements/payment-request-button. If you see the button there, then the issue is in your application. But if that page shows “Either your browser does not support the Payment Request API, or you do not have a saved payment method.” then either you still didn’t save the test card properly (which is unlikely at this point), or there are issues on Stripe’s or Google’s side outside your control (which, sadly, happens sometimes). If all else fails, you can at least partially test your application by opening your ngrok URL with a Chrome profile that does have a Google Pay card set up – that scenario is much less error prone than locally saved cards (and in the “real world”, much more common anyway), so if nothing else, that one should make the button show up. Just be sure to not complete the payment flow to avoid charges on your real card.
Do you have questions?
Please send them to partner@benestudio.co, and we are happy to set up a talk with our engineers.
Are you looking for a partner for your next project? Check out our services page to see what we do, and let’s set up a free consultation.
Join Our Engineering Team, We Are Hiring!