Kickstart your React Native app with Firebase – Cloud Firestore (Tutorial #0)
Pardon the interruption, we have an important message!
We are looking to expand our team with talented developers. Check out our open positions and apply.
In this series we will create an iOS and Android application — called Fakestagram — with React Native, using some of Firebase services. This is not an “intro to React Native” tutorial so we won’t cover basic things, but only Firebase specific topics, so you will need some React Native knowledge to keep up with the pace.
Today, in Ep. 0, we will look at what is Firebase and create the base project. We will build forward this project in Episode 1.
One of the biggest benefit of React Native is that you can rapidly code cross-platform applications. You just started and suddenly realize that you are just created an MVP. Why don’t you lower the backend development costs & time in the MVP period by using a BaaS solution like Firebase?
WHAT IS FIREBASE?
Firebase — as they refer themselves — is a mobile & web application development platform, created by Firebase Inc. then later acquired by Google. The platform has a really big & growing user base, mostly mobile developers tend to use it. This is basically a platform offering many switchable modules. Why don’t you take advantage of mobile analytics, push notification and crash reporting without headaches? Use Social/email/phone authentication, NoSQL database, and countless other features with ease.
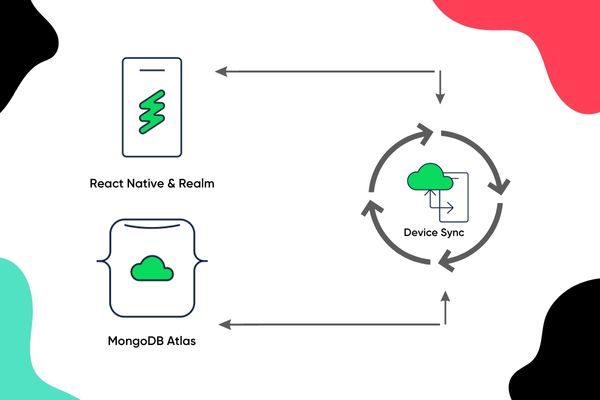
REACT NATIVE & FIREBASE
React Native’s ecosystem is relatively new, the community is still looking for best practices but in past months react-native-firebase package gained a lot of popularity because of the connected native modules and the easy to use API. The third major version came out in October 2017 bringing us some exciting new features, like Cloud Firestore, phone authentication, and more easier app integration. We will use the latest (at this time v3.1.1) version in this tutorial. Docs time:
RNFirebase makes using Firebase with React Native simple. It is a light-weight layer sitting on-top of the native Firebase libraries for both iOS and Android which mirrors the Firebase Web SDK as closely as possible.
OUR STARTING APP (FAKESTAGRAM)
We will create an application, called Fakestagram, where the users are able create a profile, upload (and manage) their images and everyone could see these images on a feed. This is not an “intro to React Native” tutorial, so you will need some basic React Native knowledge as I won’t cover the view layer in detail.
Creating the application
First we create a stater project:
npm install –save redux-saga
Note: We need to use 0.49.5 version because react-native link is updated on the 0.50 and won’t work well with CocoaPods. Now you have to link the project to your application native projects by
react-native link react-native-firebaseCREATING THE FIREBASE PROJECT
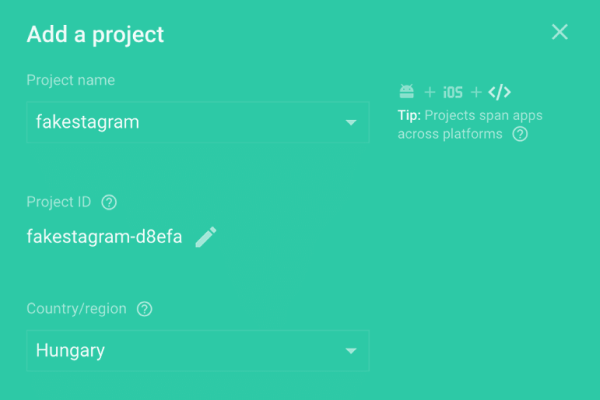
First, log in with your google account on https://console.firebase.google.com and create a new project.
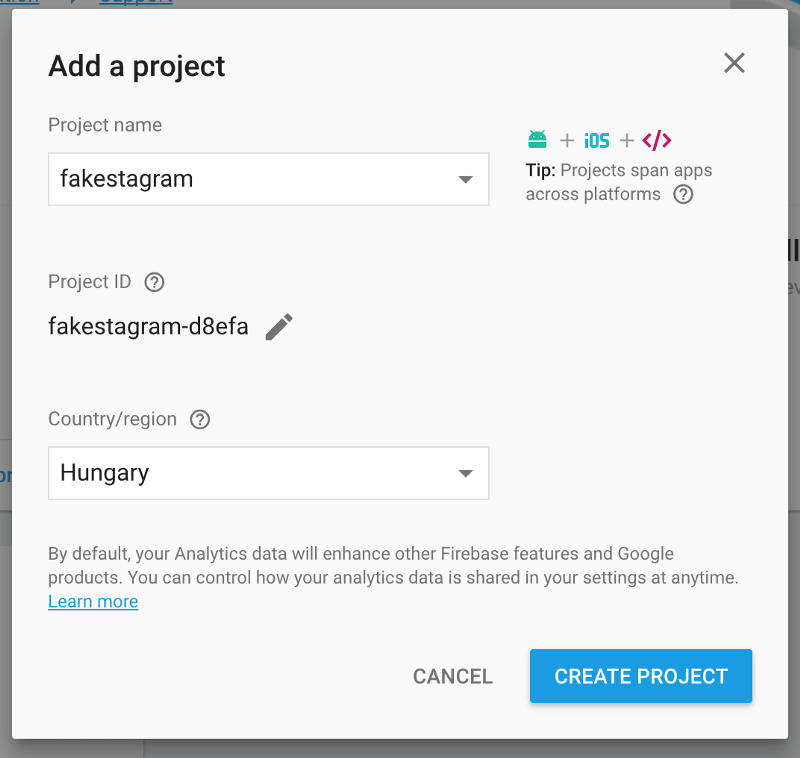
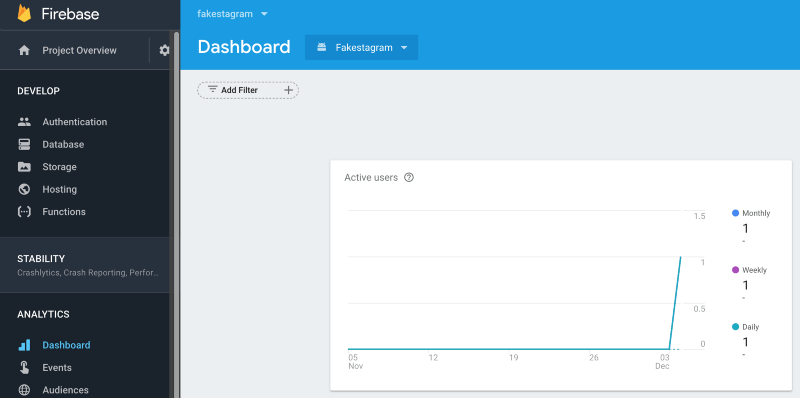
After you filled in the necessary field, click on Create project and you’ll land on Firebase dashboard. There you can choose your application(s) types (iOS, Android or Web). We’ll need to add iOS and Android too. So add both of them.
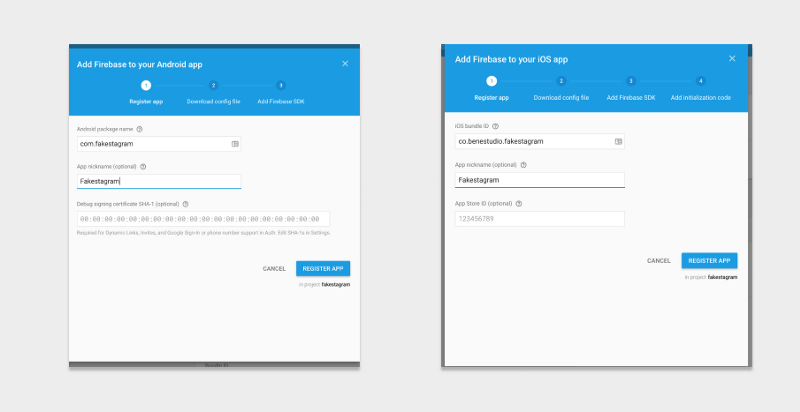
You’ll need to download the google-services.json for Android to android/app/ and GoogleServiceInfo.plist for iOS to ios/fakestagram.
Add the SDK to your project as the Firebase console asks, to iOS with Cocoapods and Android with gradle and update play service repository on your android/build.gradle file:
maven {
url ‘https://maven.google.com’
}
On iOS add the following to your ios/fakestagram/AppDelegate.m file:
A) At the top of the file: #import <Firebase.h>
B) At the beginning of the didFinishLaunchingWithOptions:(NSDictionary *)launchOptions method add the following line:
[FIRApp configure];
After that go to your ios folder, run pod init and add this to your target: pod ‘Firebase/Core‘ . Do a pod install and from now on, you need to use .xcworkspace file instead of .xcodeproj.
Congratulations!
You have successfully linked your Firebase app to your React Native project. On the next episode, we will take a look at the new Cloud Firestore and create our database.
Example repo: https://github.com/benestudio/fakestagram/releases/tag/projectinit