Kickstart your React Native app with Firebase – Cloud Firestore (Tutorial #2)
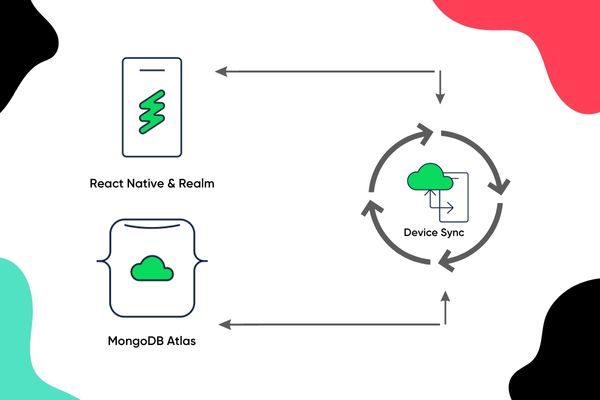
In this series we will create an iOS and Android application — called Fakestagram — with React Native, using some of Firebase services. This is not an “intro to React Native” tutorial so we won’t cover basic things, but only Firebase specific topics, so you will need some React Native knowledge to keep up with the pace.
Today, in Ep. 2, we will look at some of Firebase’s basic authentication possibilities. If you want to read the previous article about Cloud Firestore, go to Episode #1, the intro article is here: Episode #0.
Pardon the interruption, we have an important message!
We are looking to expand our team with talented developers. Check out our open positions and apply.
STANDUP
On the previous article we created a database to our application to store posts and started using it with a FlatList and a button to add a random new post. Today we will extend the database with another collection to store users, create authentication feature and secure the database by only registered users will be able to write anything in it.
AUTENTHICATION FEATURES
According to docs: “Firebase Authentication provides backend services, easy-to-use SDKs, and ready-made UI libraries to authenticate users to your app. It supports authentication using passwords, phone numbers, popular federated identity providers like Google, Facebook and Twitter, and more.
Firebase Authentication integrates tightly with other Firebase services, and it leverages industry standards like OAuth 2.0 and OpenID Connect, so it can be easily integrated with your custom backend.”
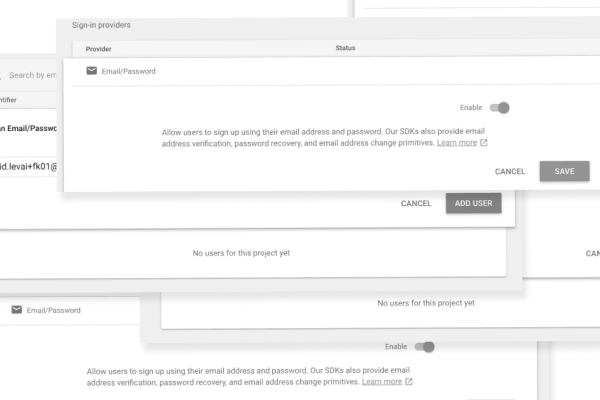
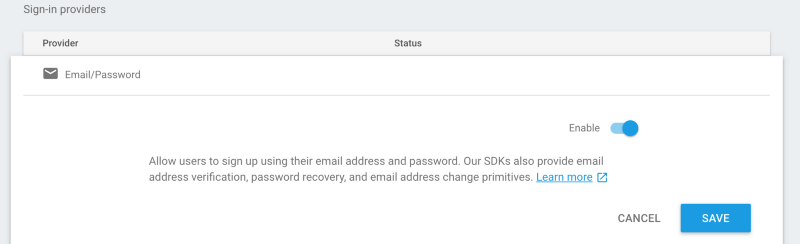
SET UP AUTH
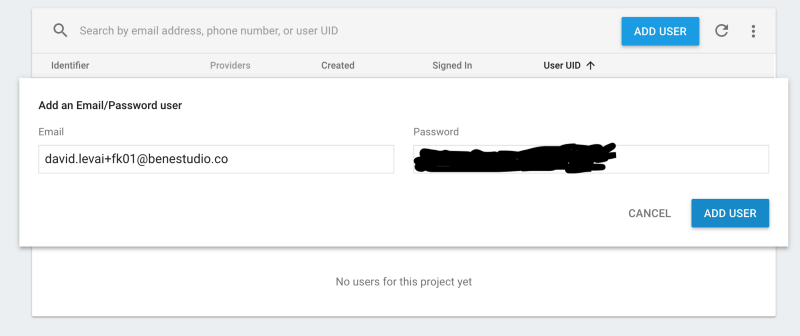
First, choose Authentication in the nav, then activate Email/Password authentication. Now, create your first user on the Firebase console. This easy to setup a basic email/password authentication in Firebase. Don’t forget to secure your database with authentication required for write access. Click on Database, then rules and modify the rules to this:
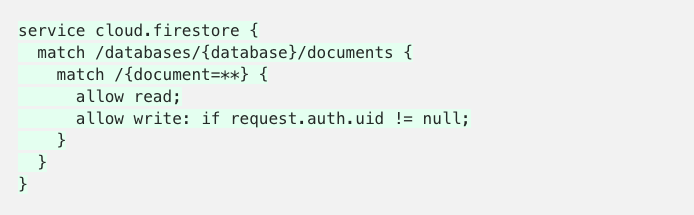
Now you set up your DB to only authenticated users could write.

CONNECTING APPLICATION
Now, that authentication is ready, it’s time to use it. First we need to add the native dependencies to the project.
On iOS add pod ‘Firebase/Auth’to your Podfile, do a pod update and from now, you can use Firebase Auth features on iOS.
On Android add compile “com.google.firebase:firebase-auth:11.6.0” to app/build.gradle. Add import io.invertase.firebase.auth.RNFirebaseAuthPackage; and new RNFirebaseAuthPackage() to MainApplication.java and now it works on Android. Docs time: RNFirebase uses the native Firebase SDKs so your authenticate state is saved to the device, meaning if you close the app and re-open the app, the user won’t need to re-authenticate.
CREATING LOGIN + LOGOUT FUNCTIONALITY
We need to update our code to handle email + password authentication. We add some new properties to state (user, loggingIn, emailValue, passwordValue, hasError, error). User will be the user if logged in, logginIn is for loading state handling, email and passwordValue fields to controlled TextInputs and the 2 error related are to give feedback to our users if they messed up something. We are subscribing to userChange events too, so we need to update our lifecycle methods as well.

View Raw

Now, create the helper methods which will responsible to handle successful or unsuccessful login actions. The idea is simple. We have a <Login /> component with 2 TextInputs and a Button. If the user tapping the Button, we call firebase.auth().signUpWithEmailAndPassword(email, pass) . This gives us some response. If it’s ok, we set the user to the state and render the news feed instead of the login form.
NEXT UP
This is all you need to start using Firebase authentication in your React Native application. If you want, you can clone the example repo with the UI implemented and checkout the code. Would you like to add something? Or you have any questions? Just write a comment.
In the next episode we will connect this application with Redux to manage state.
Check out the full code here: https://github.com/benestudio/fakestagram/tree/auth
CHECK OUT THE FULL CODE HERE:
https://github.com/benestudio/fakestagram/tree/cloud-firestore